Page-Builder Metafizzy Flickity
This is Metafizzy Flickity built for the custom Page-Builder project.
1. Table of Contents
- 2.1. Built With
- 2.2. Installation
- 3.1. Flickity
- 3.2. WP_Query
- 3.3. Grid
- 3.4. Cells
- 3.4.1. Template usage
- 3.4.2. Moustaches
- 3.4.3. Custom Moustaches
- 3.5. CSS
2. About The Project
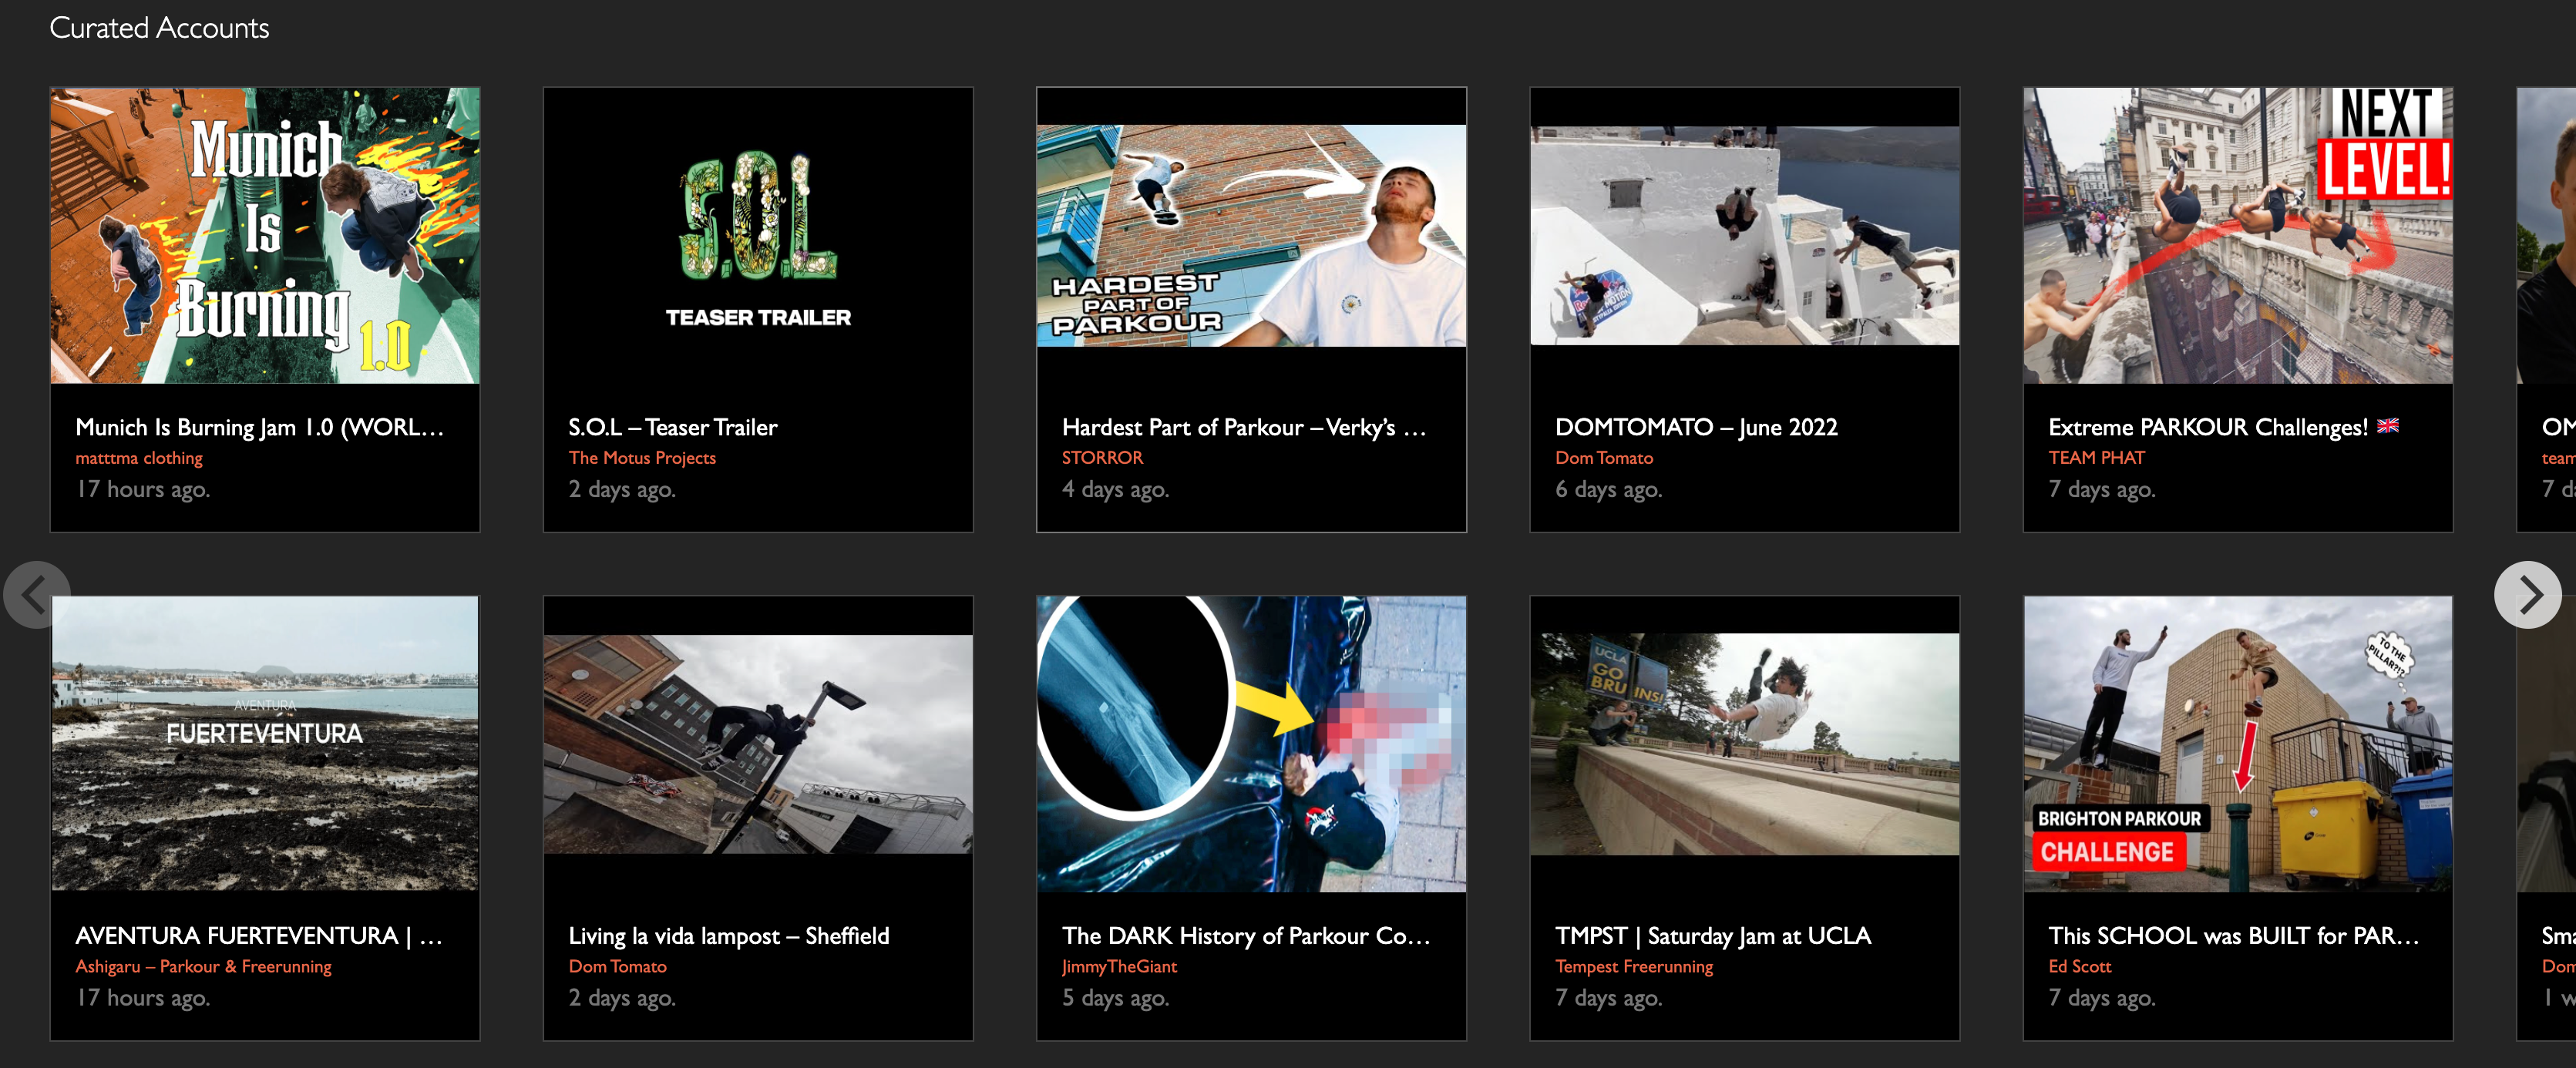
ACF-Based panels to allow you build flickity sliders.
2.1. Built With
This project was built with the following frameworks, technologies and software.
2.2. Installation
These are the steps to get up and running with this plugin.
- Clone the repo into your wordpress plugin foldergit clone https://github.com/IORoot/wp-plugin__page-builder--flickity ./wp-content/plugins/page-builder-flickity
- Activate the plugin.
Note: This plugin requires the page-builder plugin to work https://github.com/IORoot/wp-plugin__page-builder
3. Usage
The Flickity slider will now be available through the page-builder as an "organism" to include into the page.
The organism has five tabs to use:
3.1. Flickity
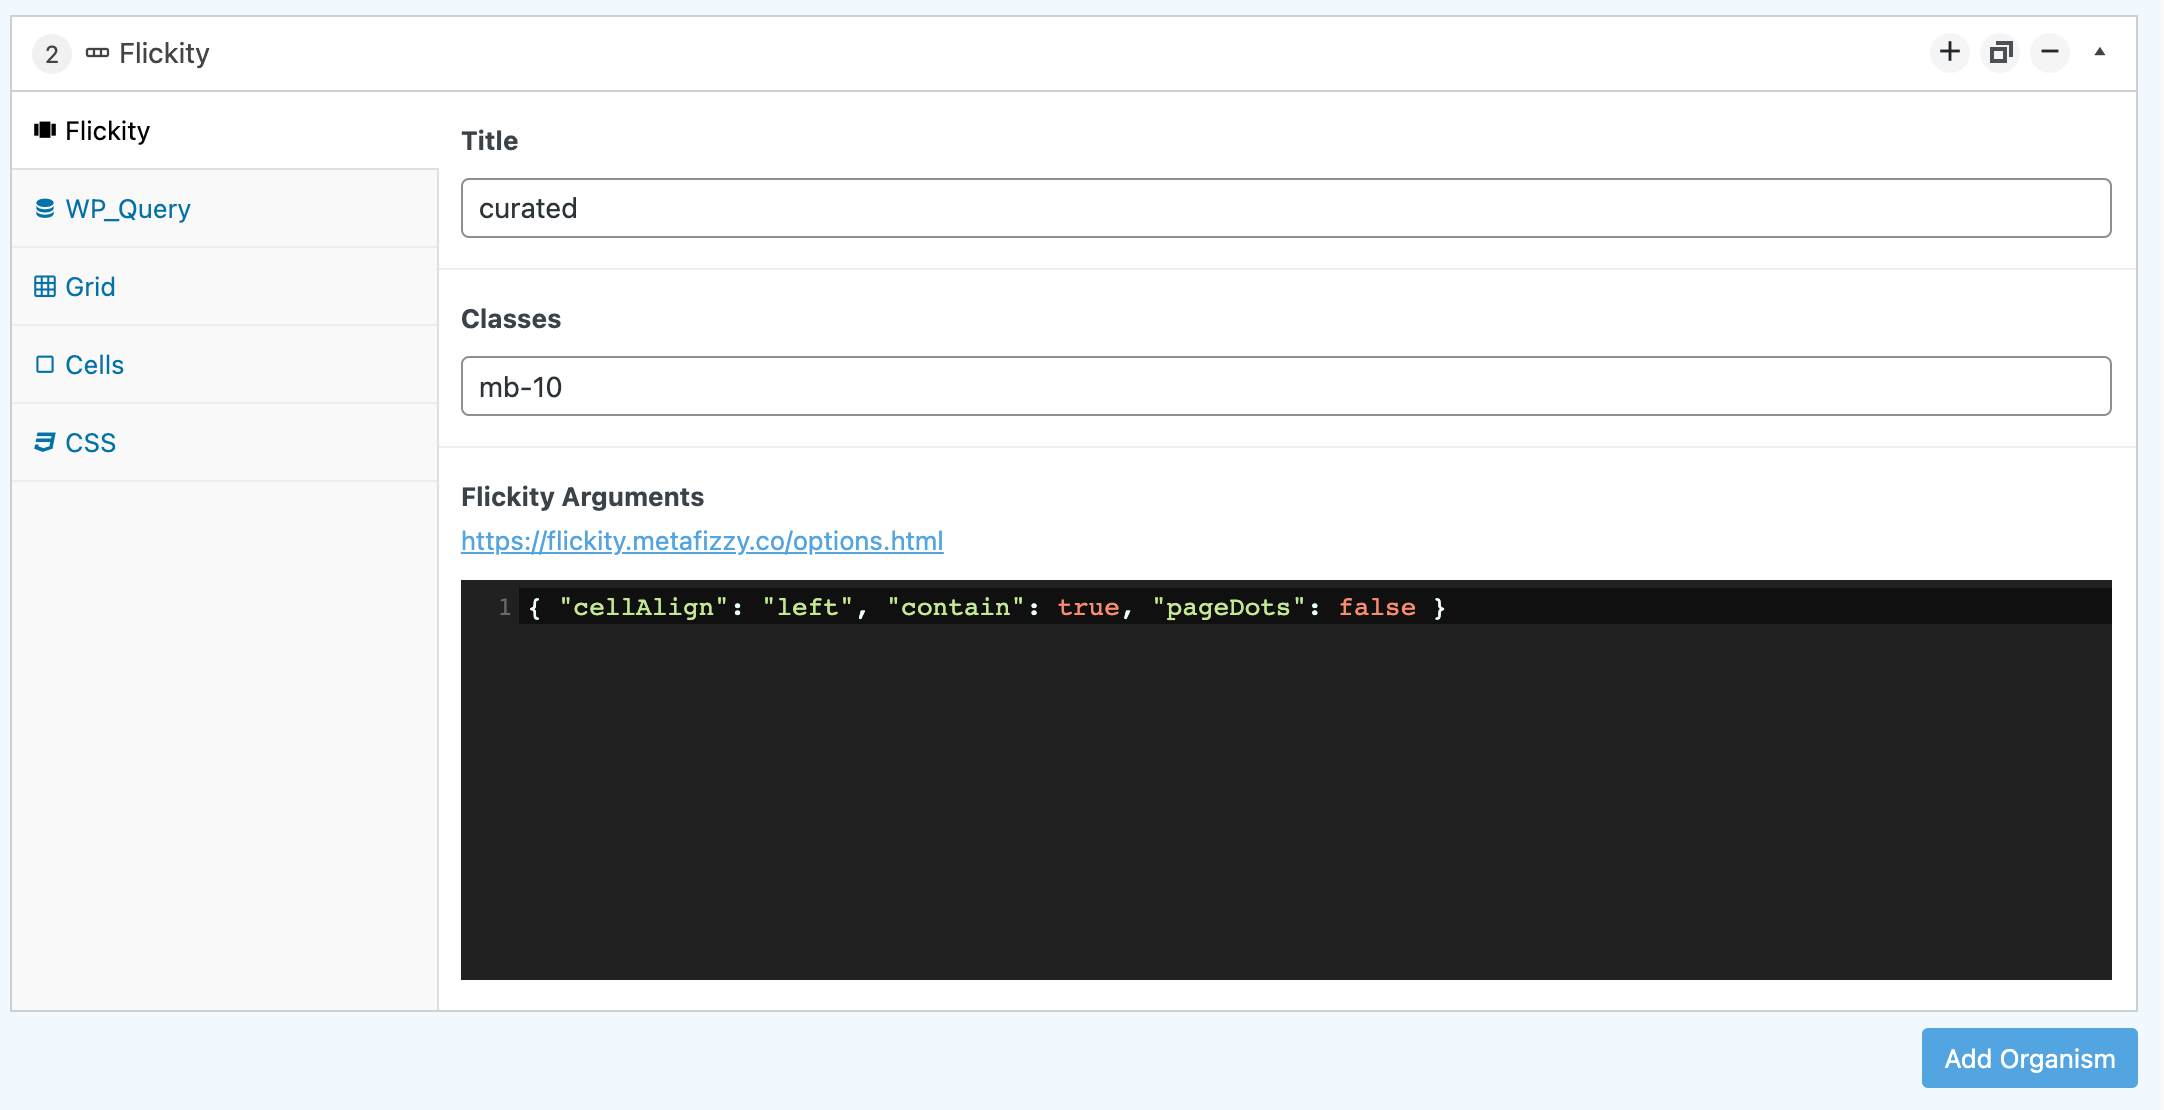
- Title. This is the instance 'slug' of the slider.
- Classes. Any class names you wish to add to the containing wrapper of the flickity slider.
- Flickity Arguments. All arguments are documented here: https://flickity.metafizzy.co/options.html. A JSON object. For instance:
{ "cellAlign": "left", "contain": true, "pageDots": false }
3.2. WP_Query
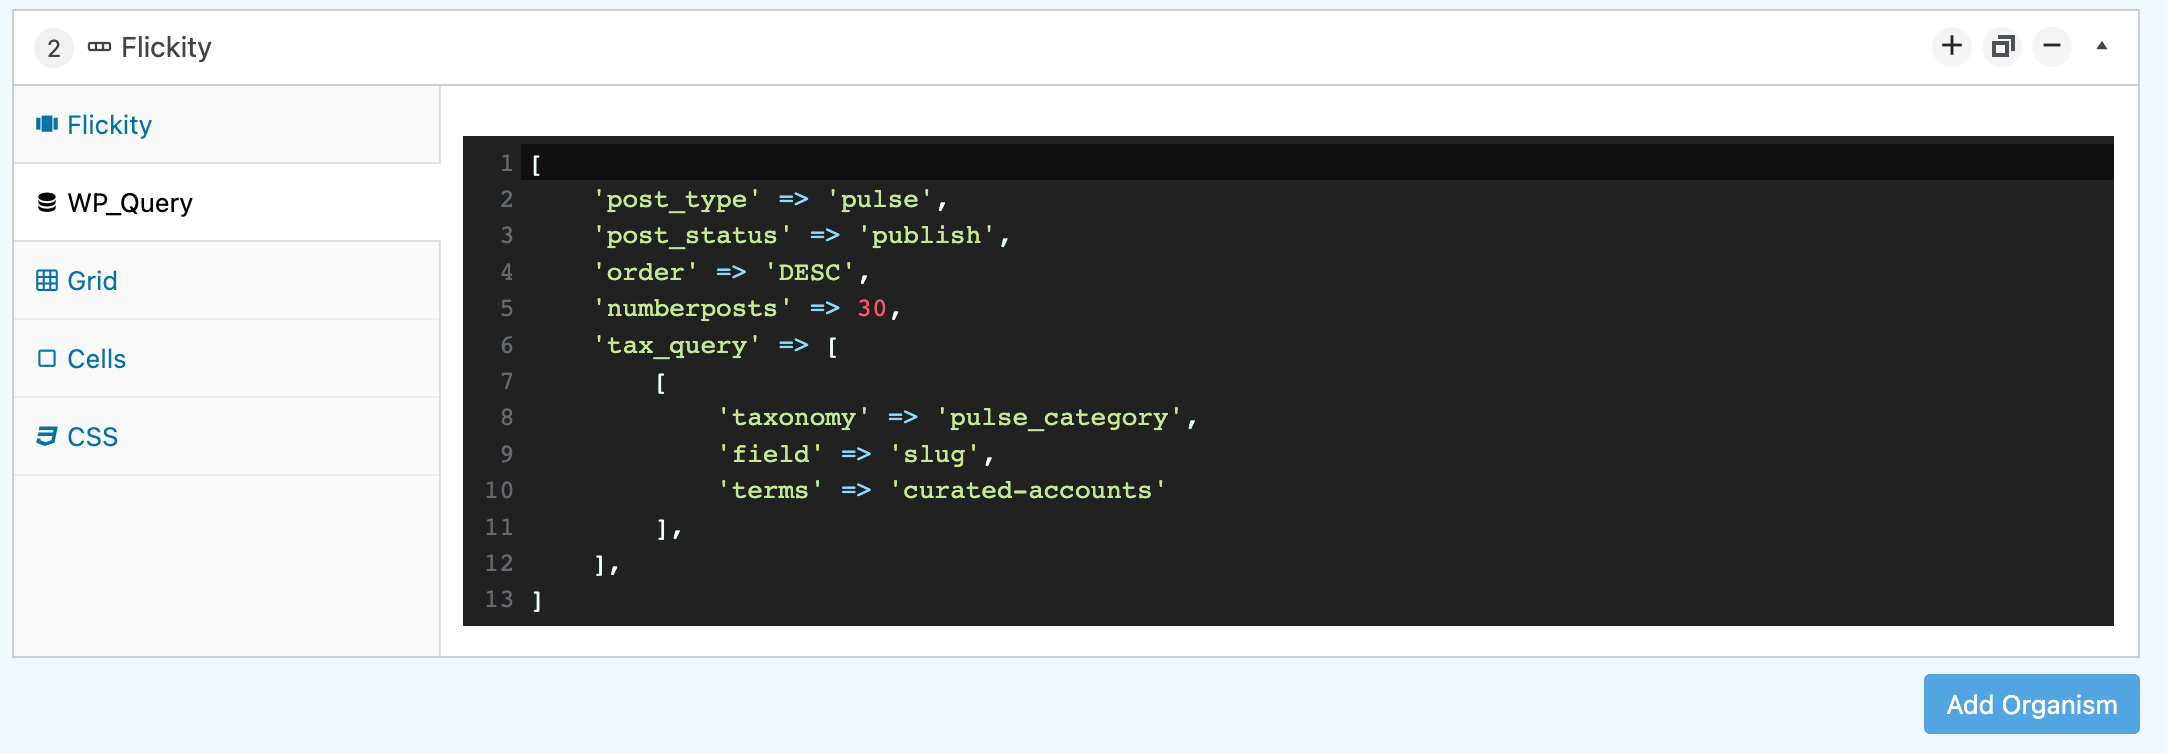
- WP_Query. This is a PHP array of options for the wordpress WP_Query. Everything is documented here: WP_Query
Example:
['post_type' => 'pulse','post_status' => 'publish','order' => 'DESC','numberposts' => 30,'tax_query' => [['taxonomy' => 'pulse_category','field' => 'slug','terms' => 'curated-accounts'],],]
3.3. Grid
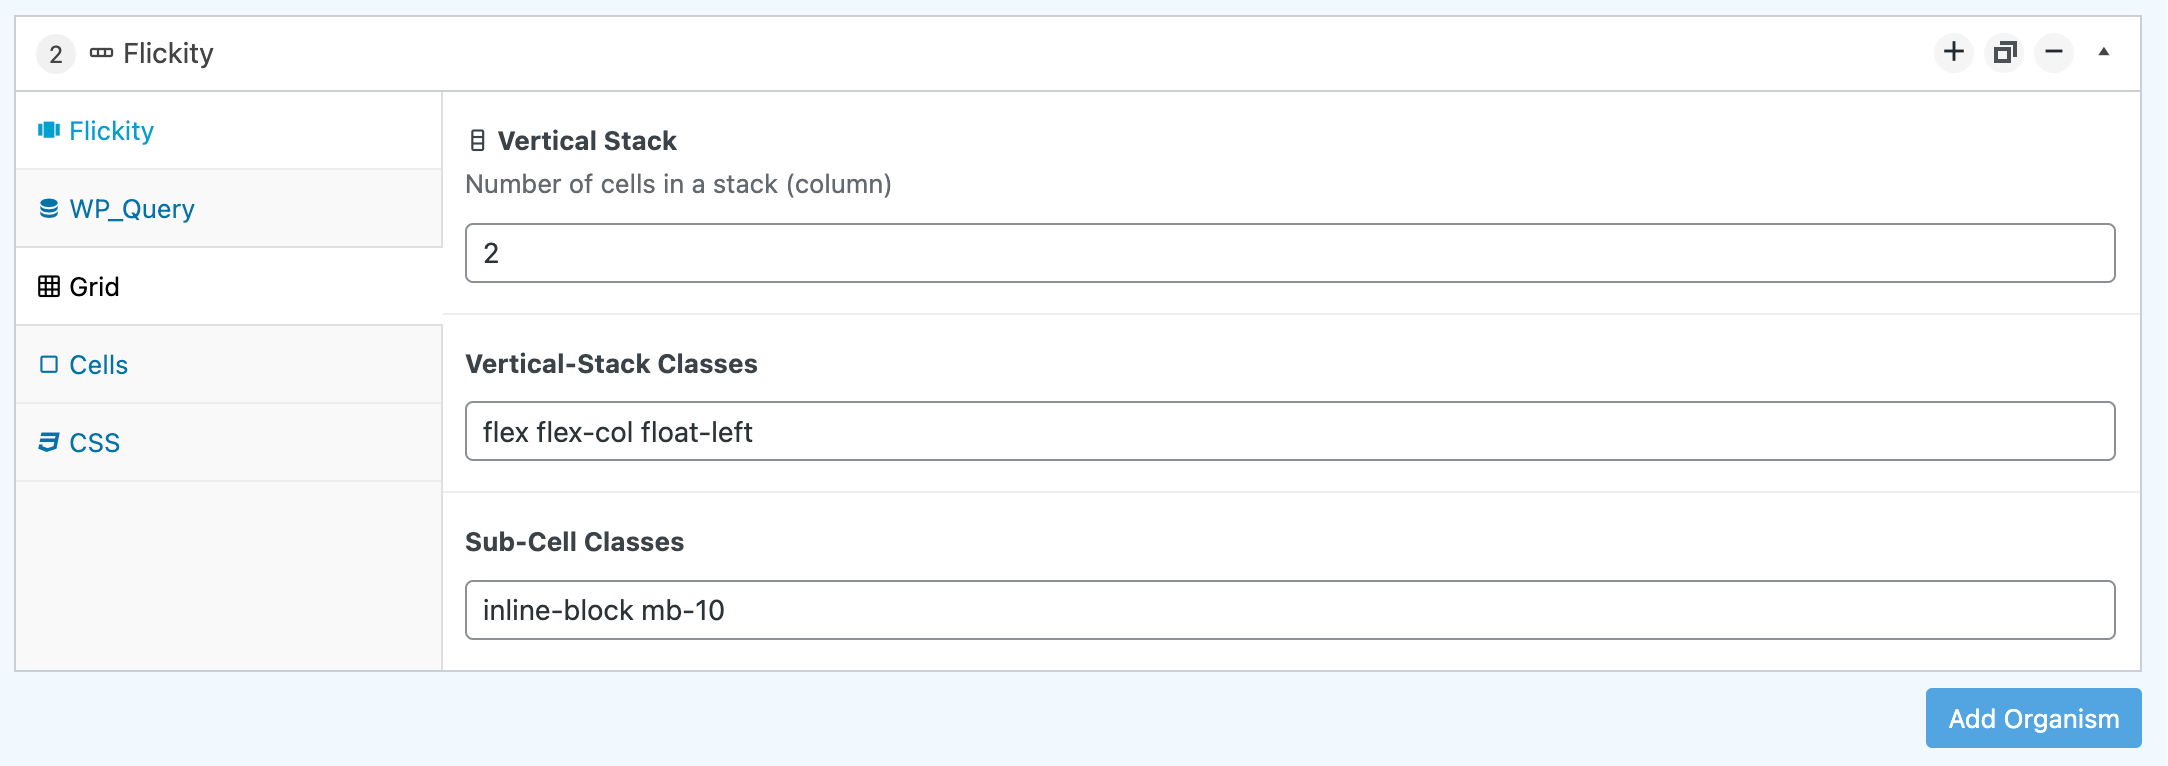
- Vertical Stack. You can have multiple items stacked on top of each other in a column if you prefer. Enter the number of items here.
- Vertical-Stack Classes. The class names to give the entire column wrapper.
- Sub-cell Classes. The class names for each item within the column.
3.4. Cells
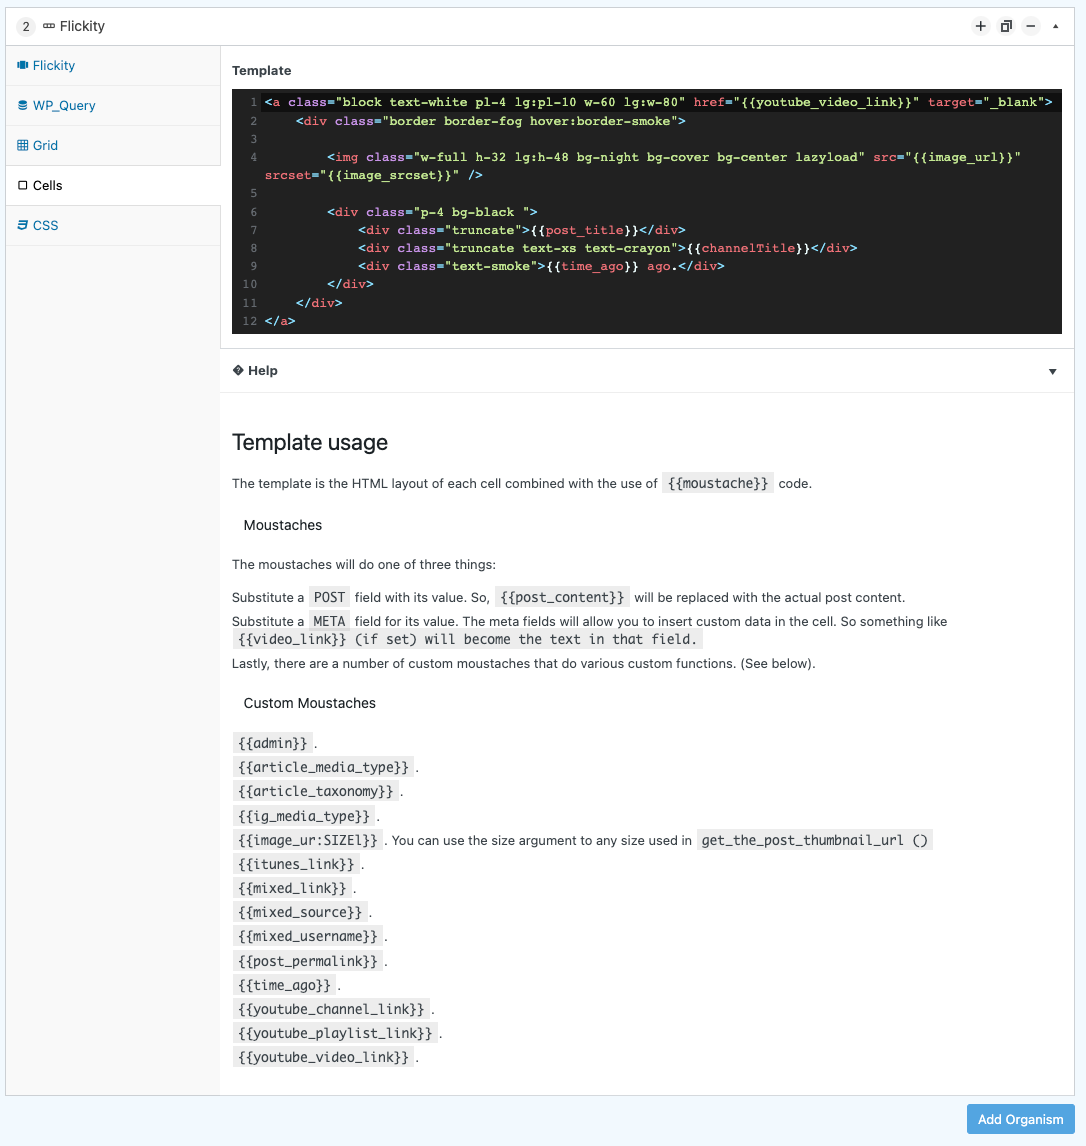
- Template. This is how to render each item. This is quite powerful since you describe the layout of each item with the dynamic fields inserted using moustache-bracket formatting. Example:
<a class="block text-white pl-4 lg:pl-10 w-60 lg:w-80" href="{{youtube_video_link}}" target="_blank"><div class="border border-fog hover:border-smoke"><img class="w-full h-32 lg:h-48 bg-night bg-cover bg-center lazyload" src="{{image_url}}" srcset="{{image_srcset}}" /><div class="p-4 bg-black "><div class="truncate">{{post_title}}</div><div class="truncate text-xs text-crayon">{{channelTitle}}</div><div class="text-smoke">{{time_ago}} ago.</div></div></div></a>
In the example you can see there are post items such as:
- Meta fields like {{youtube_video_link}}
- Post fields like {{post_title}}
- Image fields like {{image_url}} And there are many more.
There is a help tab to describe the functionality available.
3.4.1. Template usage
The template is the HTML layout of each cell combined with the use of {{moustache}} code.
3.4.2. Moustaches
The moustaches will do one of three things:
Substitute a POST field with its value. So, {{post_content}} will be replaced with the actual post content. Substitute a META field for its value. The meta fields will allow you to insert custom data in the cell. So something like {{video_link}} (if set) will become the text in that field.
Lastly, there are a number of custom moustaches that do various custom functions. Some are specific to LondonParkour / Parkourpulse.
3.4.3. Custom Moustaches
{{admin}}. {{article_media_type}}. {{article_taxonomy}}. {{ig_media_type}}. {{image_url:SIZE}}. You can use the size argument to any size used in get_the_post_thumbnail_url() {{itunes_link}}. {{mixed_link}}. {{mixed_source}}. {{mixed_username}}. {{post_permalink}}. {{time_ago}}. {{youtube_channel_link}}. {{youtube_playlist_link}}. {{youtube_video_link}}.
3.5. CSS
- Inline additional CSS. Add a <style> tag above the flickity instance with these rules in it.

4. Customising
None.
5. Troubleshooting
None.
6. Contributing
Contributions are what make the open source community such an amazing place to learn, inspire, and create. Any contributions you make are greatly appreciated.
If you have a suggestion that would make this better, please fork the repo and create a pull request. You can also simply open an issue. Don't forget to give the project a star! Thanks again!
- Fork the Project
- Create your Feature Branch (git checkout -b feature/AmazingFeature)
- Commit your Changes (git commit -m 'Add some AmazingFeature')
- Push to the Branch (git push origin feature/AmazingFeature)
- Open a Pull Request
7. License
Distributed under the MIT License.
MIT License
Copyright (c) 2022 Andy Pearson
Permission is hereby granted, free of charge, to any person obtaining a copy of this software and associated documentation files (the "Software"), to deal in the Software without restriction, including without limitation the rights to use, copy, modify, merge, publish, distribute, sublicense, and/or sell copies of the Software, and to permit persons to whom the Software is furnished to do so, subject to the following conditions:
The above copyright notice and this permission notice shall be included in all copies or substantial portions of the Software.
THE SOFTWARE IS PROVIDED "AS IS", WITHOUT WARRANTY OF ANY KIND, EXPRESS OR IMPLIED, INCLUDING BUT NOT LIMITED TO THE WARRANTIES OF MERCHANTABILITY, FITNESS FOR A PARTICULAR PURPOSE AND NONINFRINGEMENT. IN NO EVENT SHALL THE AUTHORS OR COPYRIGHT HOLDERS BE LIABLE FOR ANY CLAIM, DAMAGES OR OTHER LIABILITY, WHETHER IN AN ACTION OF CONTRACT, TORT OR OTHERWISE, ARISING FROM, OUT OF OR IN CONNECTION WITH THE SOFTWARE OR THE USE OR OTHER DEALINGS IN THE SOFTWARE.
8. Contact
Author Link: https://github.com/IORoot
9. Changelog
- v1.1.0 - Admin features.
Added the {{admin}}...{{/admin}} moustache to only display cell content if you're an admin.
- v1.0.0 - Initial Release